Natural Dyeing: Pine cones

I did some pine cone dyeing this week. There are over 100 different species of pines in the world. In Finland we have just one naturally growing one (Pinus sylvestris). This was my first time trying out dyeing with any kind of cones, but reading about it, I feel that most cones act the same. They give brownish/pinkish/reddish tones.

I found a lot of information about dyeing with spruce cones, but not so much about dyeing with pine cones. I figured they cant be that different. Most instructions say that the cones from last year that have been laying under the snow the whole winter give the best colour. Well thanks to global warming last winter was the first one in my lifetime that we did not have snow at all in Helsinki. But anyways I thought how on earth I will know in August which ones are old and which ones are new?

I let the cones soak in water for one day and then started cutting them to pieces. I think this was a good idea as they got a lot softer. I also noticed that some of them where a lot lighter and others a lot heavier and sank at the bottom. Others where mushy and brown and others hard and red in the middle.

I found an interesting PDF of an old Finnish dyeing book from 1919. In it Alina Hellen says about spruce cones that: “You will get grayish red from them. The cones are collected during spring and summer. Preferably they should be the ones that have fallen out of the trees last year and have been laying over winter in wet places and because of that they have stayed hard and smooth. They should be dark brown/reddish and juicy from the inside.” She was talking about the spruce cones but I used this as my guide line and only used the ones that had red in the middle. I think it makes sense that that’s where the dye is.

Alina Hellen, 1919, Kotivärjäyskirja; Neuvoja kotivärjäykseen kasviaineilla. Suomen käsityön ystävät. KVS:n Käsiteollisuuskirjasto N:o 13

Cutting the cones into pieces was a lot of hard work and I should have had proper tools for this (like garden scissors). My thumps hurt a lot the next two days. This was definitely one of the most labor intense dyeing things I have done.

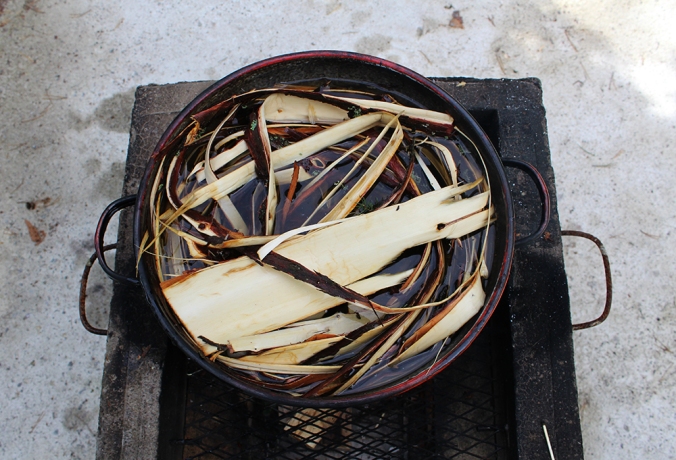
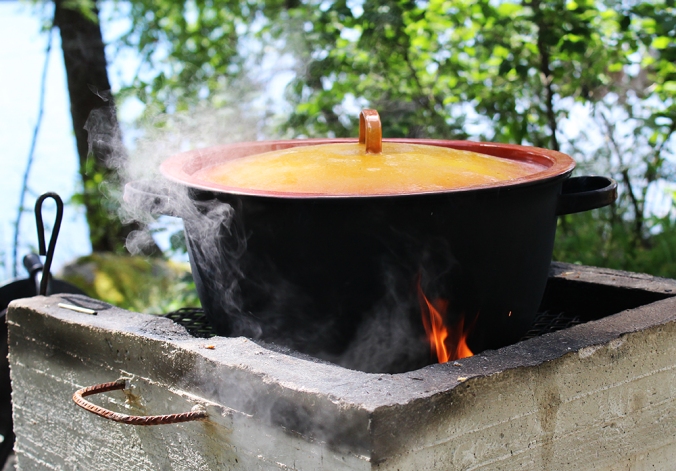
I boiled the cones for almost four hours. Normally I only do two hours, but hard stuff like cones need a little more time. The smell is so good by the way! I wish someone would make a boiling wood perfume. Looking back I probably should have had a bit lower temperature. I lost quite a bit of dye. And I could have left the cones to soak in the dye bath until the dye was cold. But I wanted to start the dyeing process.

I invested and finally bought some muslin cloth. It really is a good idea to use it to do the sieving. All this small mush that goes through a normal sieve could make the dye result uneven. I also cleaned the pot at this point.

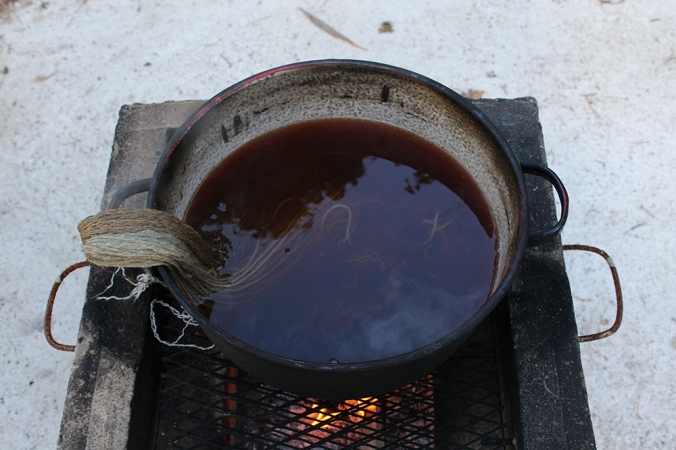
The dye itself was a dark brown with a reddish tint.

I dyed my cotton fabric for one hour and let it cool in the pot. The next day I used the same dye for a second time for another patch.

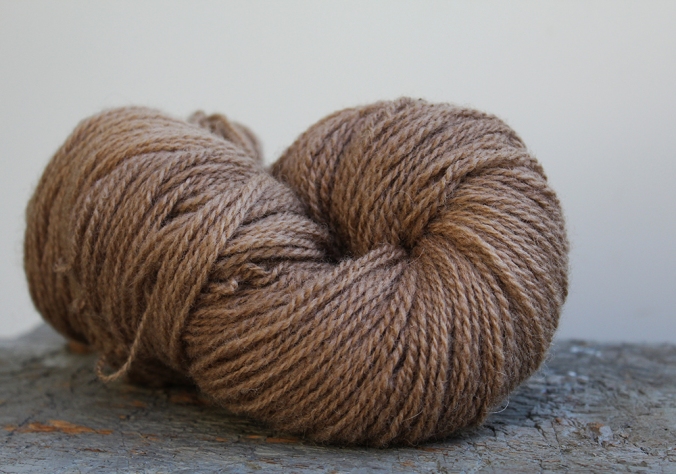
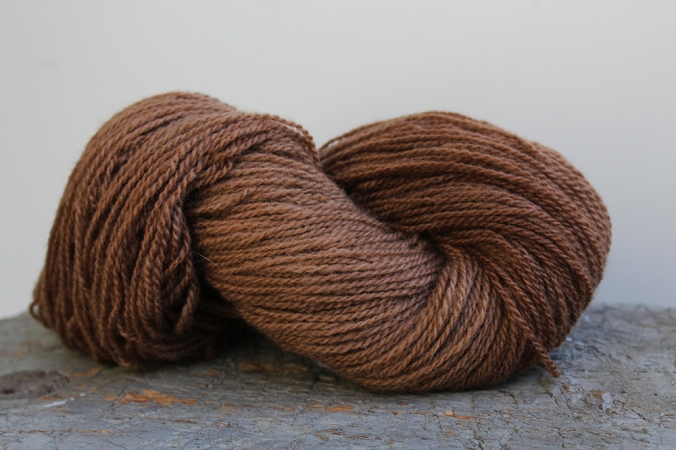
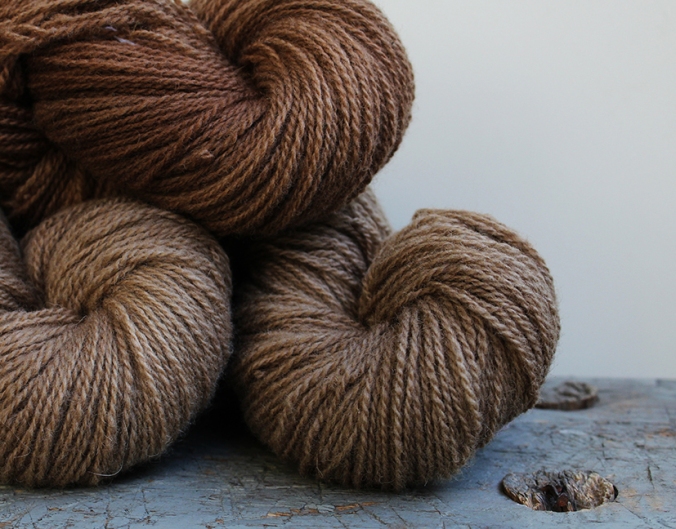
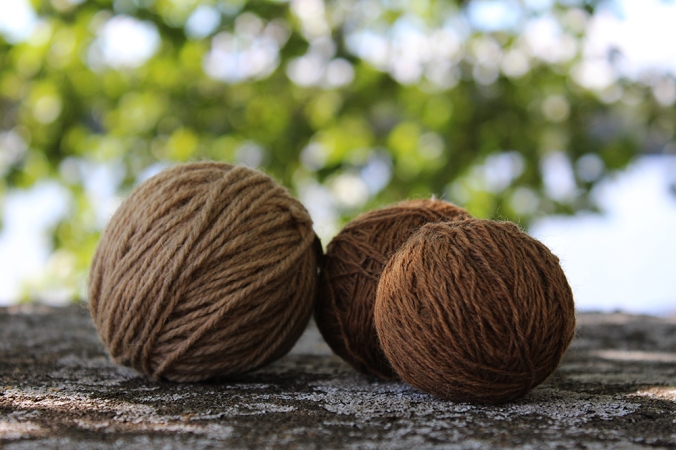
These are colors that I got. The top one was crumbled. The darkest bottom one was a different fabric.

The end results where beige light brown colours. The bottom fabric was a different fabrics. The rest where an old cotton sheet. I think the bottom one is mostly cotton, but I think its mixed with some kind of synthetic fiber. I was surprised how well it took the colour.

The interesting thing was that there was no difference between the mordanted and unmordanted fabrics. I’m guessing that the cones have natures own tannin and don’t really need mordanting.

All and all beautiful colours, but a lot of work. I do think there might be an easier way of getting lovely browns…. In 2014 I dyed with juniper bark and I think that was a lot easier. You can read about it here. I have also dyed with walnut hulls, although that was a long one month soaking. You can read about it here.
Natural Dyeing: Walnut shells

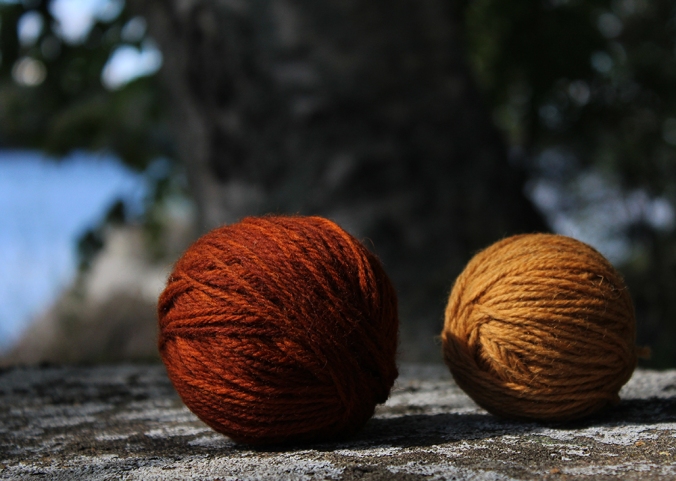
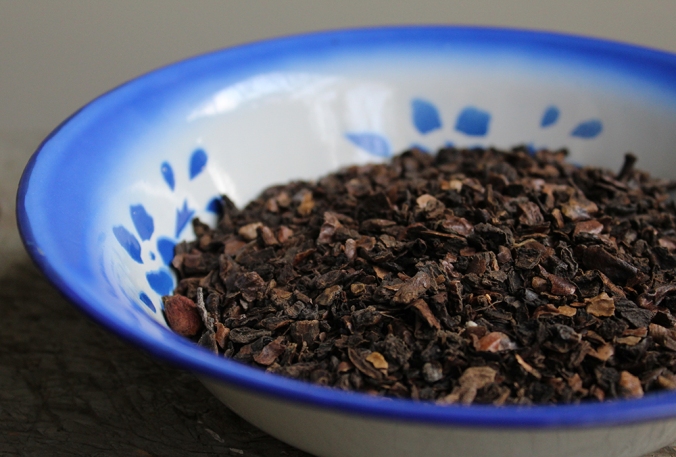
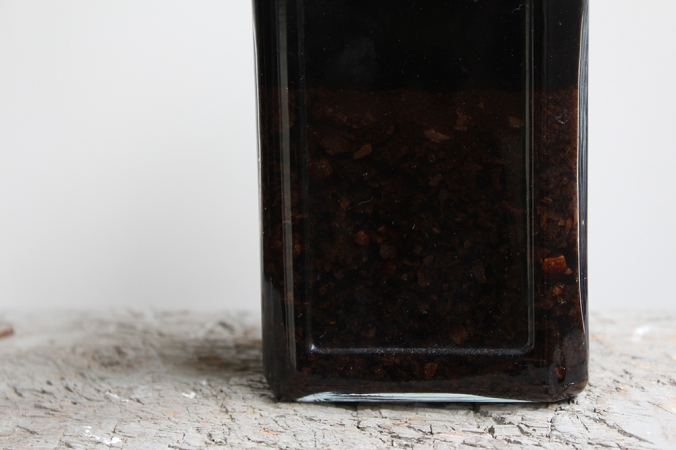
This experiment has been a long one. It started a month ago when I bought these crushed walnut shells from Riihivilla Web Shop. Leena has a wonderful online shop and a very informative blog about natural dyeing (also in English). The instructions said to soak the walnuts for a month before dyeing, apparently it takes a long time for walnut shells to release colour. So I did soak them for a month and quite soon the walnuts started to ferment ( I think). I wouldn’t recommend doing what I first did; I put the walnuts into a plastic container and closed it with a lid. It’s a good thing I did check on them every once in a while because pretty soon the whole thing would have exploded. So no air-thigh containers. I learned that just in time. Also after a month the smell is pretty strong.

IMG_4623_2

IMG_4979_2

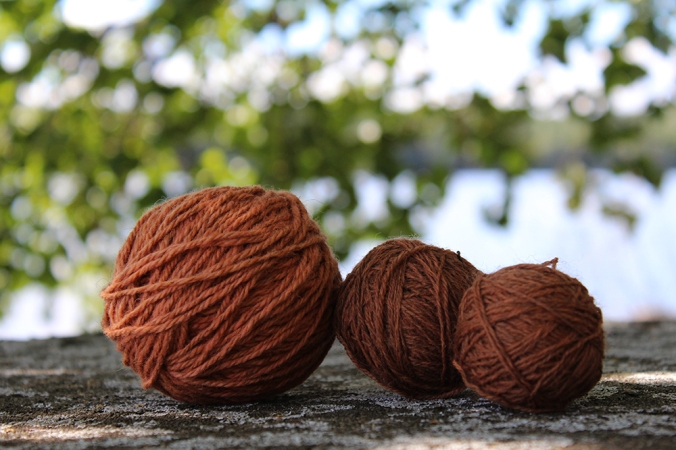
After a month of soaking the shells, I sifted the walnut crust away and dyed 100 g of unmordanted labswool yarn. Apparently walnut contains tannin which is nature’s own mordant and using alum as mordant would not make the colour stronger, in fact just the opposite. I kind of forgot to boil the walnut shells before dyeing the yarn and that’s why my first try was lighter than my second try  where I added the walnut shells to the dye and boiled the dye for one hour.

IMG_5218_2

IMG_5214_2

To dye the third skein (bottom right) I used the dye again and the result was the same as the first colour. I read that if you add an iron after bath you could get the colour even stronger. I have to try that sometime.

IMG_5226_3

Natural Dyeing: Juniper bark

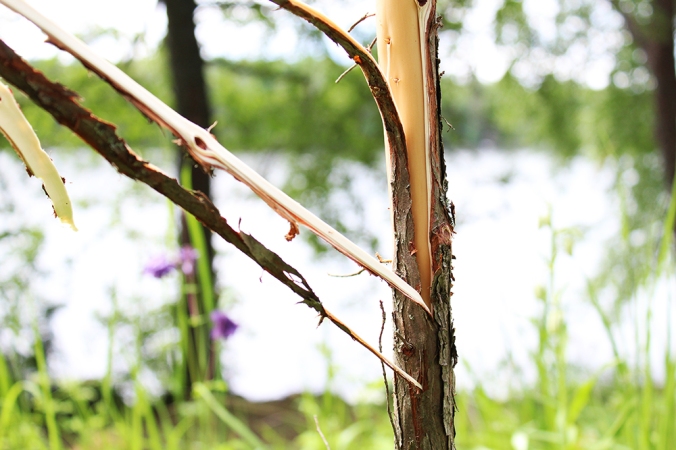
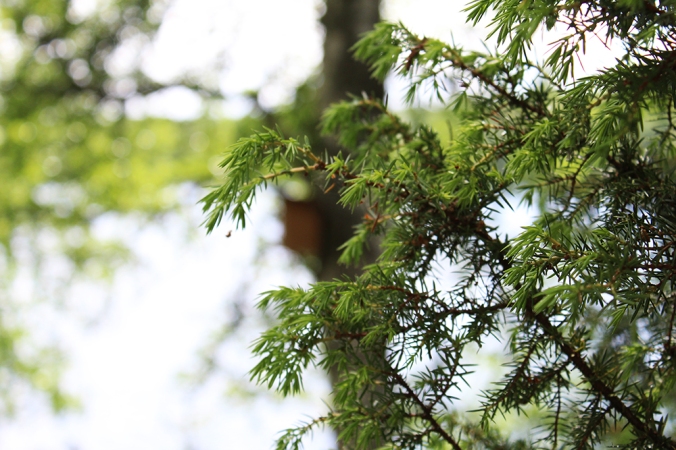
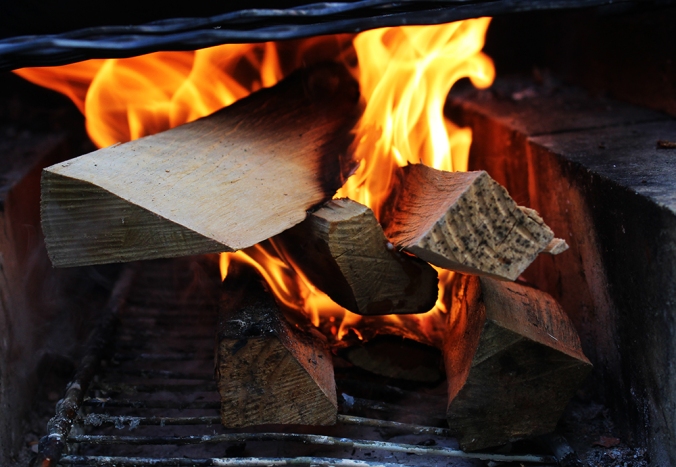
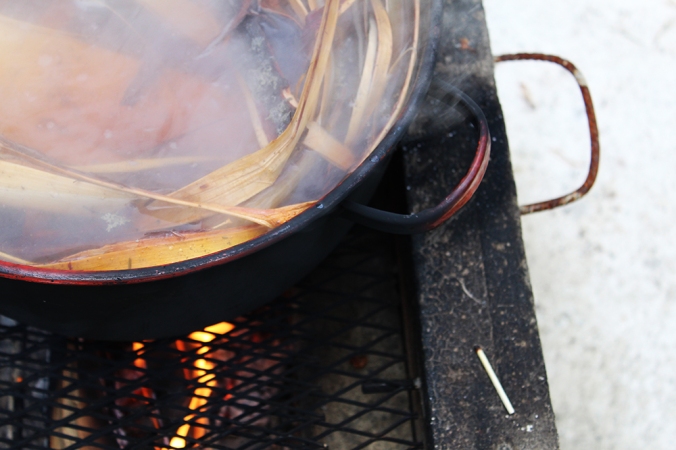
There was one small juniper tree  that had come to the end of its journey growing at our yard. I was interested to try what kind of colour I could get from its bark. Stripping the trunks was surprisingly easy. All I really needed to do was to pull the bark out with my bare hands.  I let the bark soak in water for one day before boiling it for one hour. Rest of the process was similar to dyeing with lupine (read about it here.) Boiling juniper bark smells really good! I’m serious, if somebody develops a juniper scented perfume I’m the first one to buy it! The colour was pretty too.

IMG_1633_2

IMG_1522_2

IMG_1655_3

IMG_1636_2

IMG_1641_2

IMG_1650_2

IMG_1672_2

I think this brown colour is really pretty. All the yarns I used are wool yarns and were mordanted beforehand with alum.

IMG_3856_2

I reused the dye for the second time but added madder powder into it . This gave the yarn it’s redness.

IMG_3857_2

Natural Dyeing: Lichen

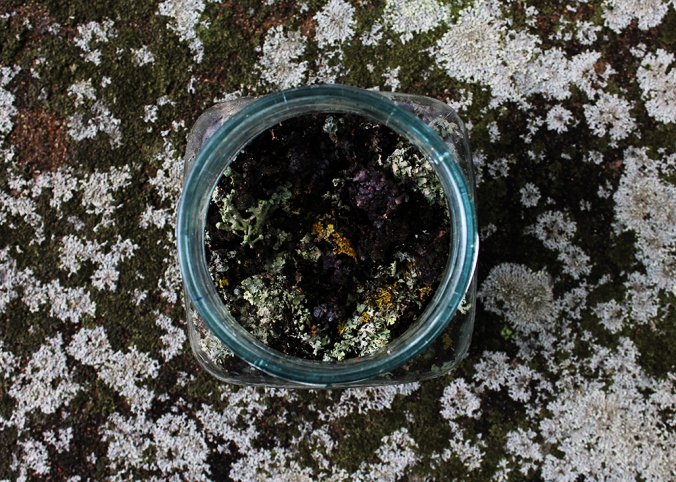
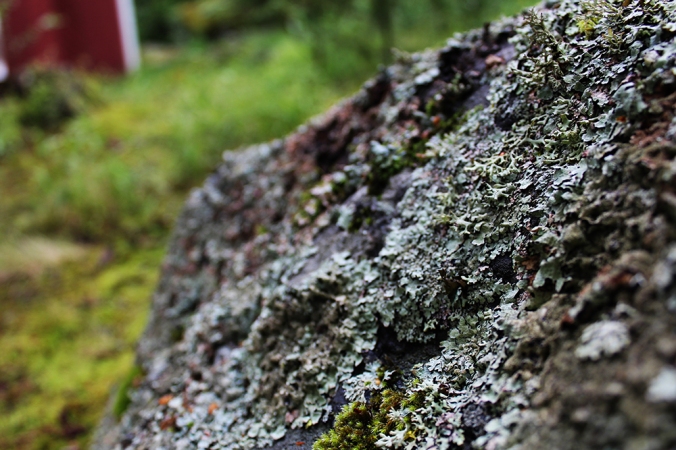
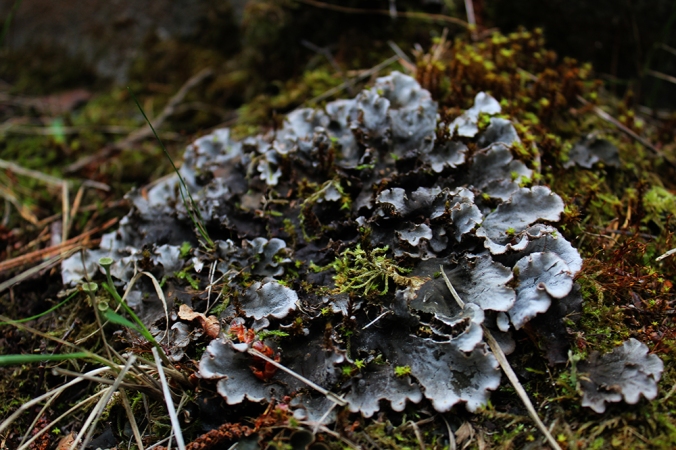
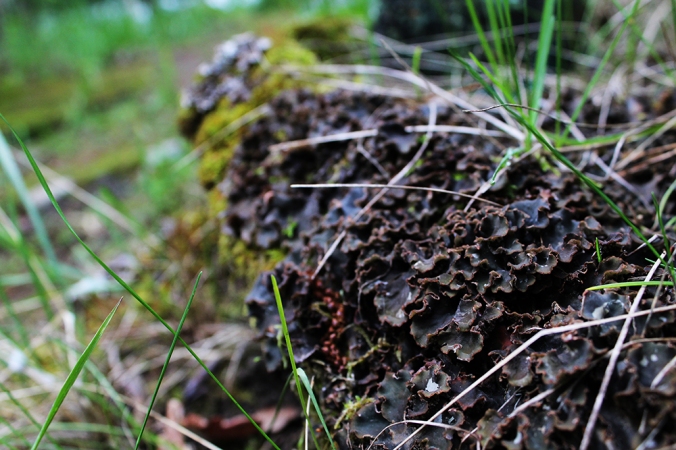
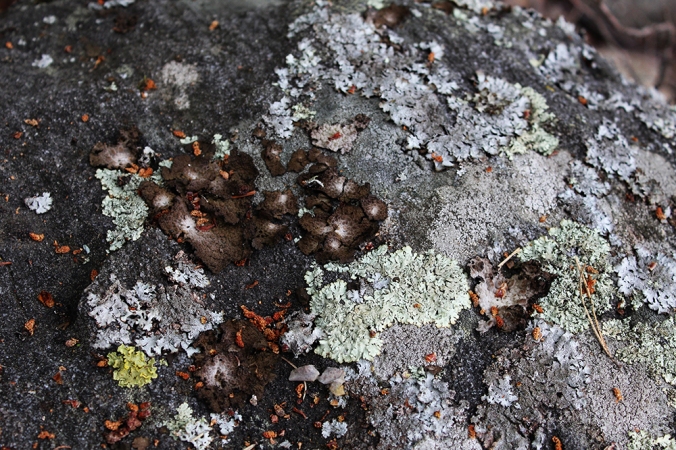
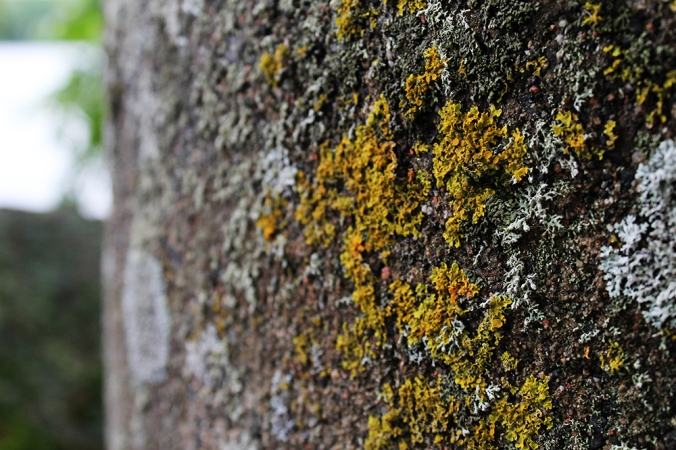
Dyeing with lichen differs from the ”normal way” of plant dyeing. It’s kind of like making a trifle. I have tried dyeing with lichen before, but I used the kind you find in trees and I found that the results where pale and more greenish. Using lichen from the rocks is a different story, I really loved the colour. Now I’m must say that I’m really bad at identifying different kind of lichen. I just collected “a lichen cocktail” from all the different kinds of lichen I could find. I think in dyeing the most commonly used lichen is called kiventierra in Finnish. If anyone can tell me how these following lichen are called, either in Finnish or English, I would be very interested to know!

Useful tip for collecting lichen from rocks (or from trees): It’s best to do it on wet weather, preferably when it has just rained. Dry lichen does not want to let go of the rock. You can also create fake rain by using spray bottle and that will make collecting easier.

IMG_0288_3

IMG_0242_3

IMG_0253_3

IMG_0271_3

IMG_1426_3

IMG_0220_3

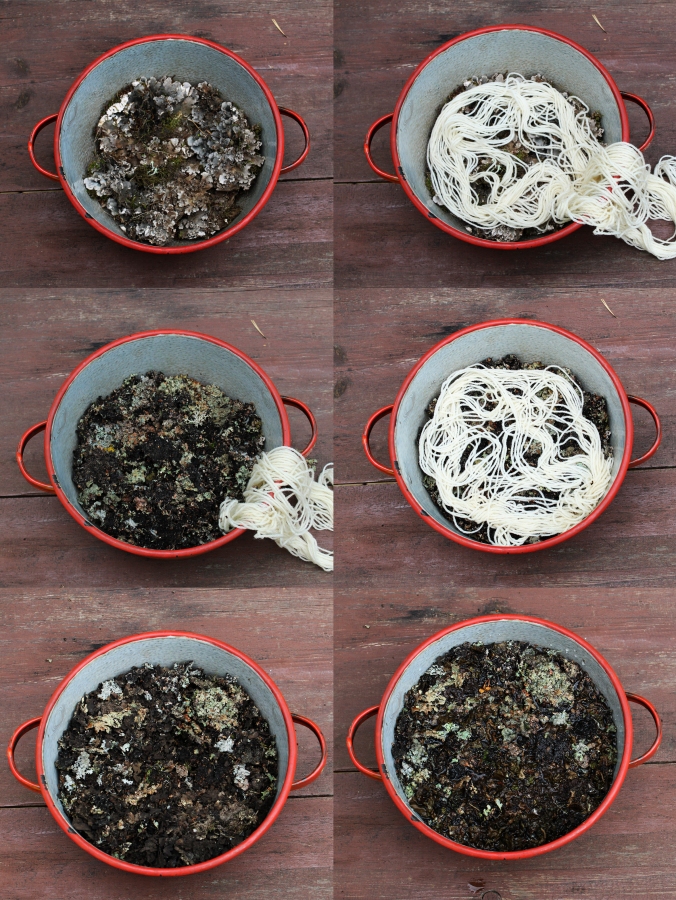
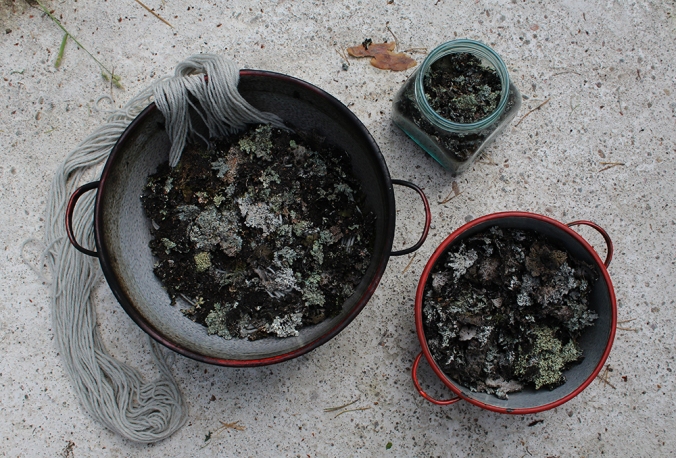
As I said the dyeing technique is like making a trifle. Take a pot and make the first layer with lichen then add a layer of yarn, then lichen and so on. In the end the yarn should be completely covered in lichen and in direct contact with it. Then add enough water so that the water almost covers the top layer.

Kiventierranvärjäys

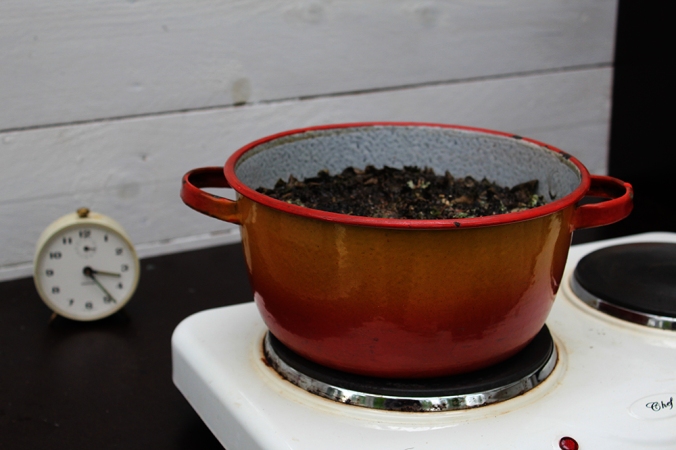
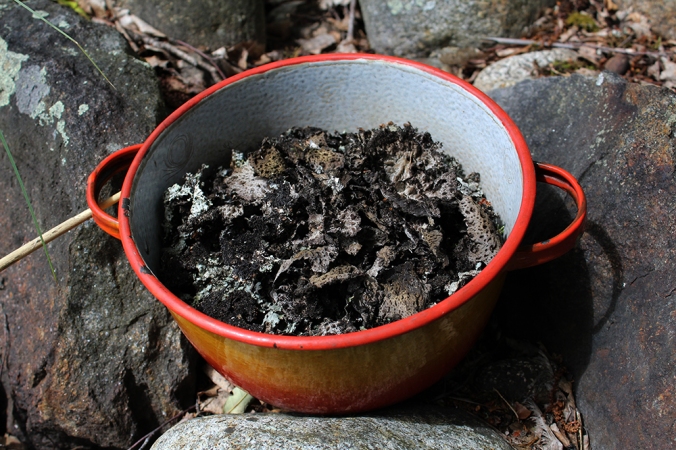
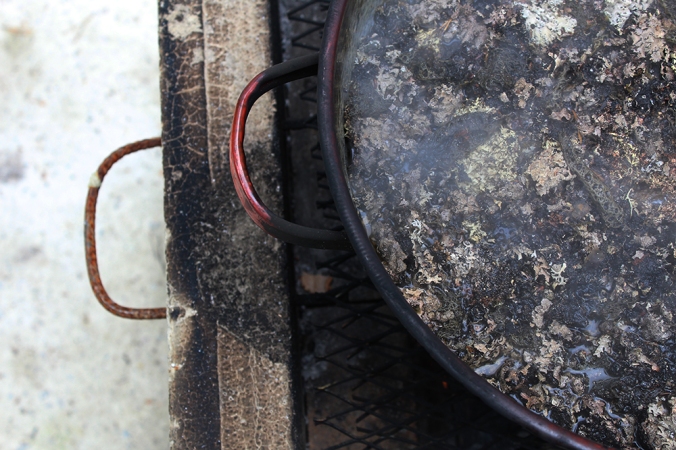
I brought the water to a boil and after that lowered the temperature. You don’t want to keep temperature too hot because the wool yarn might get damaged. I dyed the yarn for two hours. I’m not going to lie – the smell was interesting and I was happy I was working outside, but the result was beautiful. The difficult part is to clean up all the rubbish from the yarn. The last part is to rinse the yarn in cold water.

IMG_1402_2

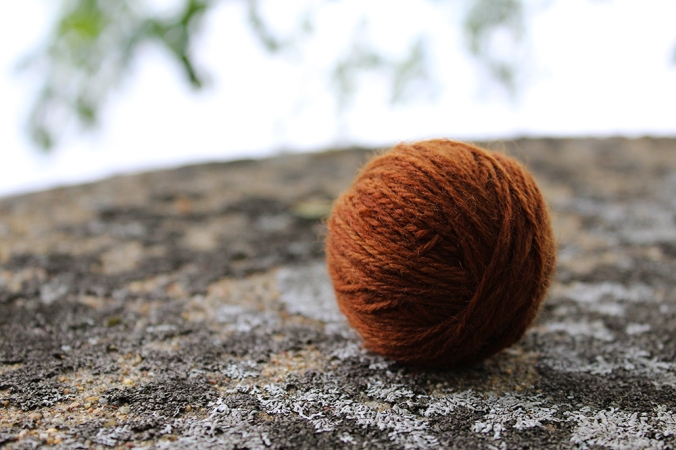
As I said the result was a beautiful reddish brown colour. In fact I got so excited about my first try that I collected some more lichen and used a bit bigger 10 litre pot.

IMG_1550_3

IMG_1486_2

IMG_1510_2

IMG_1537_3

On the left you can see the colour I got from my second try. I saved the colour liquid from that batch and coloured the yarn on the right as normal by boiling the yarn in the colour liquid for one hour. The yarns I used here where wool yarns I had pre mordanted with alum. You can read my post about mordanting here.

IMG_3808_2