Natural dyeing with Lupine

I have been a bit late in the game for natural dyeing this year. Here in Finland beginning of June is definitely the best time for natural dyeing, thats when you get the best colours. I did some natural dyeing with lupines years ago and I got beautiful almost lime green colour. This year was my first time dyeing with lupine flowers and my goal was to get blue. This blog is called The Easy Blues, but ironically the blues are definitely not easy in the natural dyeing world. With lupine the blue colour is in the flowers, but the colour is very sensitive to heath so you need to keep that in mind when dyeing with them.

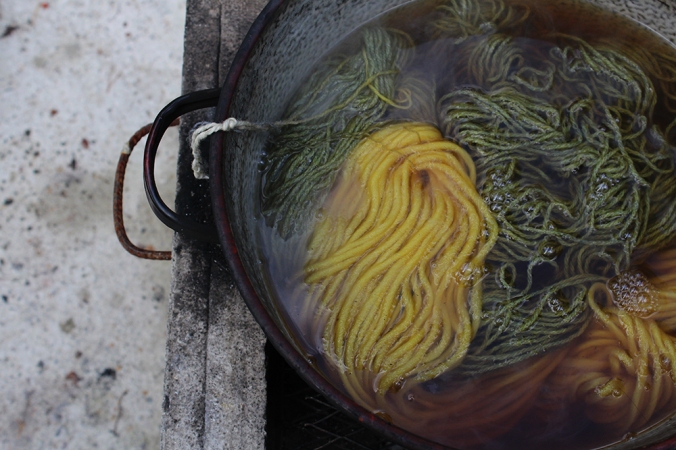
Lupine is not a native plant to Europe and in Finland in resent years we have been trying to get rid of it. But you can still see roadsides full of it. Lupine is great at spreading around and it’s not good for native plants who are having a hard time growing with them. So harvesting them and stopping them from spreading the seeds is good for the environment. Still Lupine is an excellent dyeing plant. The stalk and the leaves have yellow colours. If you dye with the whole plant normally you get green colours. Trying to get the blues that’s a different story. As you can see I got beautiful turquoise colour, but I was not lucky with the complite blue this year. I think its because I was doing the dyeing at our summer cottage and forgot my digital thermometer at the city, so I was just guessing the temperatures and I think I went too hot.

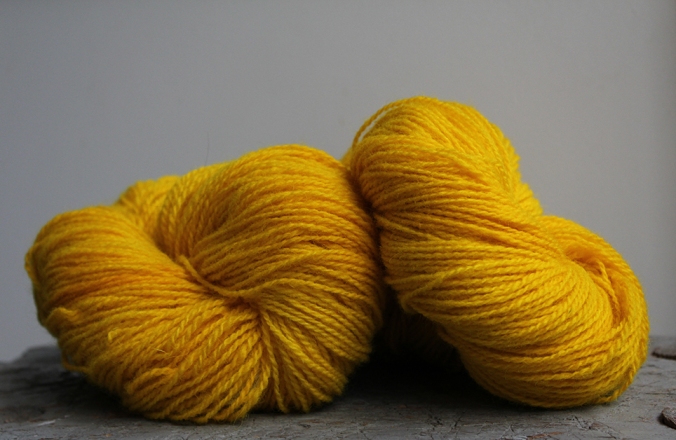
For the yellow yarn I used only the stems and leaves. I had pre mordanted the yarn with alum. I have written a blog post where I go through the whole dyeing process and you can read all about it here. For the green (which I don’t think is captured the right way in this photo) I used the flowers and a little bit of stem. It’s like basic colour theory more flowers (blue) means more green and more stems is yellow.

Now for the blue (which again is more turquoise in real life). I read this blog post from Tetri Design (all in Finnish). In the blog post Anna-Karoliina Tetri gives good instructions for getting really bright blues. She also highlights the fact that you can’t “boil” the colour out of the flowers because the heath will destroy the pigment. Basically you put the flowers and water in a pot and ad the premordanted yarn TOGETHER with the flowers. She has tried two different ways. Lifting the temperature to 80 degrees celsius and keeping it for 45 minutes or lifting the temperature for 45 degrees celsius and keeping the temperature for 2 hours. After that she lets the yarns stay with the flowers in the dye bath for at least 15 hours. She said that both methods resulted in similar results, the lower temperature gave slightly lighter and more blue results. The higher temperature was darker but slightly more green, which makes sense if the heath destroys the blue pigment. I think it a good idea to use a grey coloured yarns for darker blues. I have experimented with that before as well.

I tried the 45 degrees instructions, but as I said I forgot my thermometer, so I have no idea what the actual temperature was. And that’s why I think my blue has green in it although its a beautiful colour! I’m not complaining at all. With natural dyes you never know what you will get.

You do need fresh flowers because the colour will disappear also from dried flowers or withered flowers. This could also be why I got turquoise, because between picking the flowers and starting the dyeing process the family needed to cook lunch and eat it too. So I guess the flowers where not as fresh as they could have been.

The key was to bye the yarn with the flower in very low temperatures.
I left the yarns to the dye bath overnight and rinsed them in the morning.
I managed to match the colour to the shorts I was wearing!

The surroundings (walking distance) of our summer cottage actually had surprisingly little lupine compared to the previous years so I didn’t really have material to try again with the thermometer. This is a positive problem for the environment! I might try again next year. I’m interested to know how well this colour will last. Does anyone have any experience? I still have woolen socks that I knitted from the lime green lupine yarn I dyed in 2014 and they are looking good. Has anyone gotten really amazing blues out of lupines? Do you have lupines in your parts of the world?

Natural Dyeing: Onion skins + shibori

IMG_5939_2

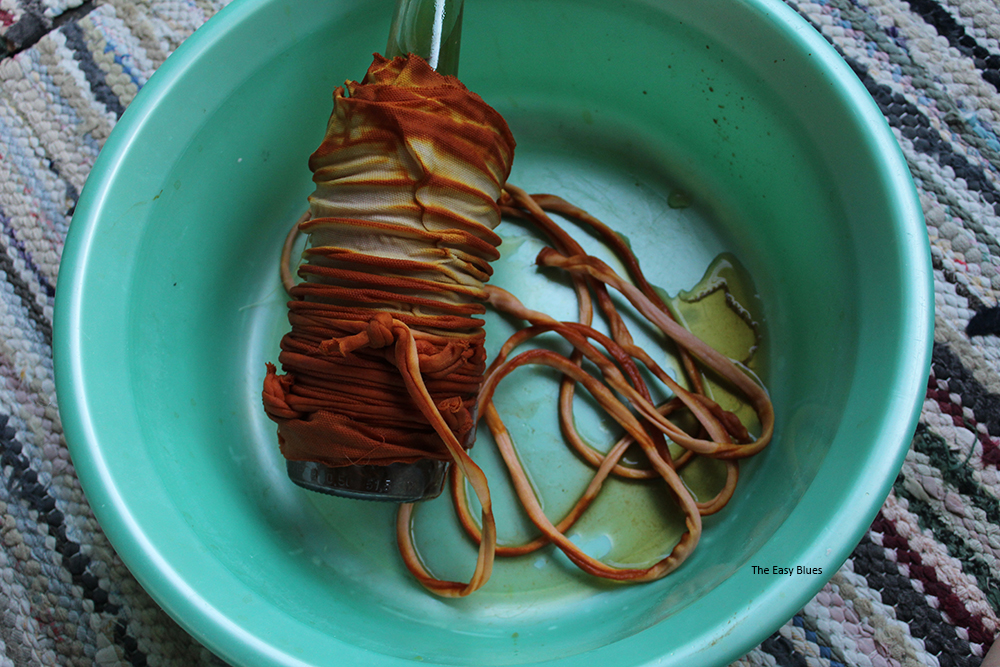
I have been saving up onion skins the whole spring and summer and finally I had enough to do an onion skin dye. Onion skins were one of the very first things I tried natural dyeing with. They are so easy and you get a very strong, lasting and vibrant colours. They don’t necessarily need an mordant and at least for me they work every time! And they are easy material to collect, very beginner friendly. I’m obsessed with mordanting so I mordanted my cotton with tara powder and alum, there is a post about it here. There is also an old post I wrote about dyeing wool yarn with onion skins here.

IMG_5751_2

The new thing I’m interested in is shibori dyeing. I really don’t know much about it so I’m still learning. I think for some of the things I did use a bit too thick fabric. I bought this old sheet from the flea market and that’s what I have been using for all of my dyeing experiments. I used a you tube tutorial from Blueprint to do these shibori folds. I had to improvise a bit though.

IMG_5754_2

Onion dyeing is very simple. You can pre soak the onion skins in cold water for anything from two hours to a day (or as long as you want). This time I skipped that step and just gently boiled the onion skins in my 10 litre pot for two hours and then filtered the skins away. I pre soaked the things I wanted to dye before adding them to the pot. Making sure they have enough room to move around in the pot.

I like to keep the temperature around 80-90 degrees celsius, it does not need to boil terribly. With wool yarns especially its good to keep an eye on the temperature as wool does not like to be boiled. Cotton of course is not so sensitive. After two hours I turn off the heath and let things cool down before I take them away from the dye. Then I rinse them with water until there is no more excess dye in the rinsing water.

IMG_5756_2

The first photo below is my second try with the bottle twisting shibori (I believe it’s called arashi-shibori?). I tried to do just one fold because with my first try (second photo) there were way too many folds and the dye just didn’t go through. I’m learning that with this kind of shibori thinner fabrics work better. The third one is the folded one where I used some chopsticks and the last one is the hand sewed one.

sipulishiborit

IMG_5766_2

The good thing about onion skin dye is that you can easily use the same dye bath multiple times. I usually always try to do at least two dyes with any natural dye. This time I did three and I probably could have done more.

shibori

I had to fill me bottle with water so it would not float in the dye bath. This bottle was also the only thing small enough to fit in to my dye bath. I think I got the shibori bug now and I need to try some more.

IMG_5793_2

Natural Dyeing: Turmeric

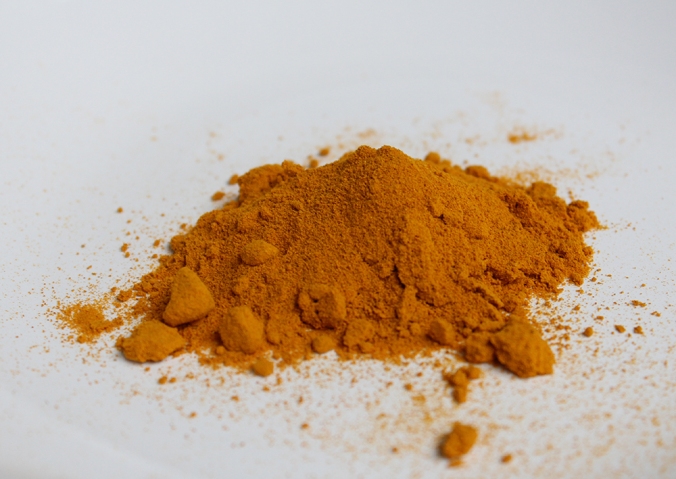
I recently read a blog post by Mari at Gather and Grow, she had dyed with turmeric using solar dyeing and without any mordants. I had a look around in my spice rack and found a jar of turmeric powder that had expired four years ago. I decided to have a go with that. I used mordanted wool because that’s what I happened to have (alum and cream of tartar) and I also used heat. I heated the water and mixed the turmeric powder into it. When I added the wet yarn the dye immediately dyed the yarn and I only let the yarn be at the dye for 15 minutes. I used the the dye again and dyed another 100 g skein of wool and it came out exactly the same colour. Turmeric is strong stuff! I feel like a much less turmeric would have been enough and that I could still dye a lot of yarn with the dye. I have it saved it case I want more. The only downside is that the smell stays quite strong in the yarn, even though I rinsed it a lot.

IMG_4926_2

IMG_4948_2

IMG_4987_2

IMG_5075_3

Natural Dyeing: Cow Parsley, Meadowsweet and Fireweed

During my summer of natural dyeing I have found many plants from which you can get similar kinds of shades of yellow and green. Usually white yarns turn to yellow and grey yarns to green. I have collected some of them in here. All the yarns displayed have been mordanted previously with alum (read about it here.) I used the same technique as I did when dyeing with lupine (read about it here.)

 COW PARSLEY

I collected the cow parsley early in the summer when they were blooming. The result was not the most intensive one but still pretty.

IMG_3831_2

IMG_1100_3

IMG_1089_3

IMG_1413_2

IMG_1489_3

IMG_1493_2

MEADOWSWEET

IMG_3823_2

FIREWEED

IMG_3825_2

Both meadowsweet (on the left) and fireweed (on the right) were collected early in June when they were not yet blooming.

maitohorsmamesiangervo


Natural Dyeing: Heather

I did a little weekend trip to the summer cottage and dyed with heather for the second time. I was curious to see what the difference is when I use heather from the beginning of June and from late August.

IMG_3786_2

IMG_3837_2

IMG_3865_2

I don’t think this is the most scientific of experiments, but I did collect heather from the same place I collected the last time and I also used the same wool yarn. The yarn on the right is from the early June and the one on the left is from the middle of August. The colour was definitely more intensive in June, but the second colour is still beautiful.

IMG_3921_2

I also coloured grey wool yarn and the result was beautiful green colour. Heather has quickly become one of my favourite plats to use in natural dyeing.

IMG_3949_2

IMG_3730_2

I have noticed that this Norwegian wool yarn (Viking Naturgarn) repeats the colours really beautifully. I mordanted the yarn beforehand with alum (read about it here). Before starting to boil the heather I let it soak in the water overnight, after that the process was similar to dyeing with lupine (read about it here.)

Natural dyeing: Heather, Onion Skins and Birch Leaves

I took class on natural dyeing in the beginning of the summer and I though I share some of the things I dyed there. All of the plants I used for the colouring where collected in the beginning of June. Beginning of the summer is a great time for plant dyeing because the colours are more vibrant the earlier it is in the plants growing season (at least here in the north). The yarns I used where all 100% wool yarns and they were mordanted with alum. Read about mordanting here.

HEATHER

I used about 280 g of heather and dyed 108 g of wool yarn. First I soaked the heather in water over night. Then I boiled the heather in the same water for two hours. After that I dyed the yarn by boiling it in the sifted colour liquid for one hour.

IMG_2979_3

IMG_3188_2

ONION SKINS

For these yarns I used the liquid dye that was made out of onion skins. This was the third time that liquid was used. I added 3 g of madder powder and 1 g of cream of tartar to the liquid and I dyed 40 g of yarn. This really brightens the orange colour up. Check out my post for dyeing with onion skins here.

IMG_2981_2

IMG_1273_3

BIRCH LEAVES

I used 319 g of birch tree leaves and dyed 73 g of wool yarn. You do need a quite a lot of leaves for dyeing a lot of yarn. I boiled the leaves in water for two hours and then I dyed the yarn by boiling it in the sifted colour liquid for one hour. To get a bright green colour like this, it’s important to use early leaves from the beginning of the summer.

IMG_2988_2

IMG_2997_2

Natural Dyeing: Onion skins

I think onion skinss are amazing. It’s incredible how much colour they have in them. I used about 115 grams of onion skins to dye these yarns. I got the skins for free from my local supermarket. I might have gotten couple of strange looks while I was going through the onion box, collecting loose onion shells but it was definitely worth it.

I let the onion shells soak in water for one day before boiling them (in the same water) for two hours. For dyeing I used a variation of old wool yarns that I had mordanted earlier with alum. After shifting the dye bath I boiled the wool yarn in the dye bath for one hour (I kept the temperature at about 80 °C). After that I rinsed the yarn. Onion tends to release a lot of excess colour so it’s good to add some vinegar to the last rinsing water. I used wool yarns that I had previously mordanted with alum.

IMG_1273_3

IMG_1476_2

IMG_1319_3

IMG_1330_3

The first yarns on the left are from the first dyeing batch (88 g). I saved the dyeing liquid and dyed another batch of yarn in it(100 g). This batch is the yellow one in the middle. After that I used the colour liquid for the third time but added one teaspoon of madder powder and half a teaspoon of cream of tartar. These are the yarns on the right(77 g).

I think this is a good example of how different yarn qualities effect the dyeing result. I used both white and grey coloured yarns. With white yarn I got lighter oranges and yellows and with grey yarn stronger oranges and greens. I used ordinary onion shells but I also want to try red onion shells. I hear you can get a beautiful green from them. Has anybody tried red onion skins?

IMG_1503_2